I have two Landraiders, one of which I painted a long time ago when it first came out, the other (a Crusader) has sat half painted for quite a long time. I got a copy of the Forgeworld Masterclass book and have been wanting to try some of the weathering techniques. I intended to wait until I got some Imperial Guard tanks, but my patience ran out and my hobby ADHD kicked in. So before starting, the original Landraider looked like this…

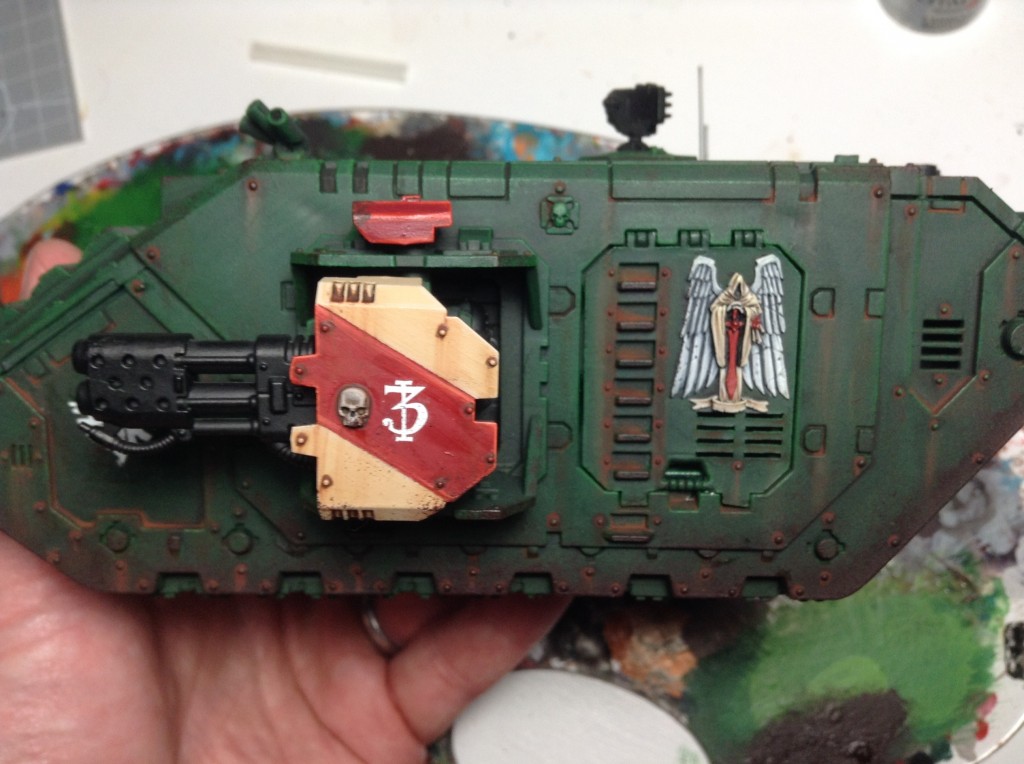
 The battle damage was one of my original efforts at weathering and it came off looking more like silver and green camo than battle wear. So, I repainted and re-drybrushed the tank with my usual Dark Angels progression, giving me a clean slate to work with.
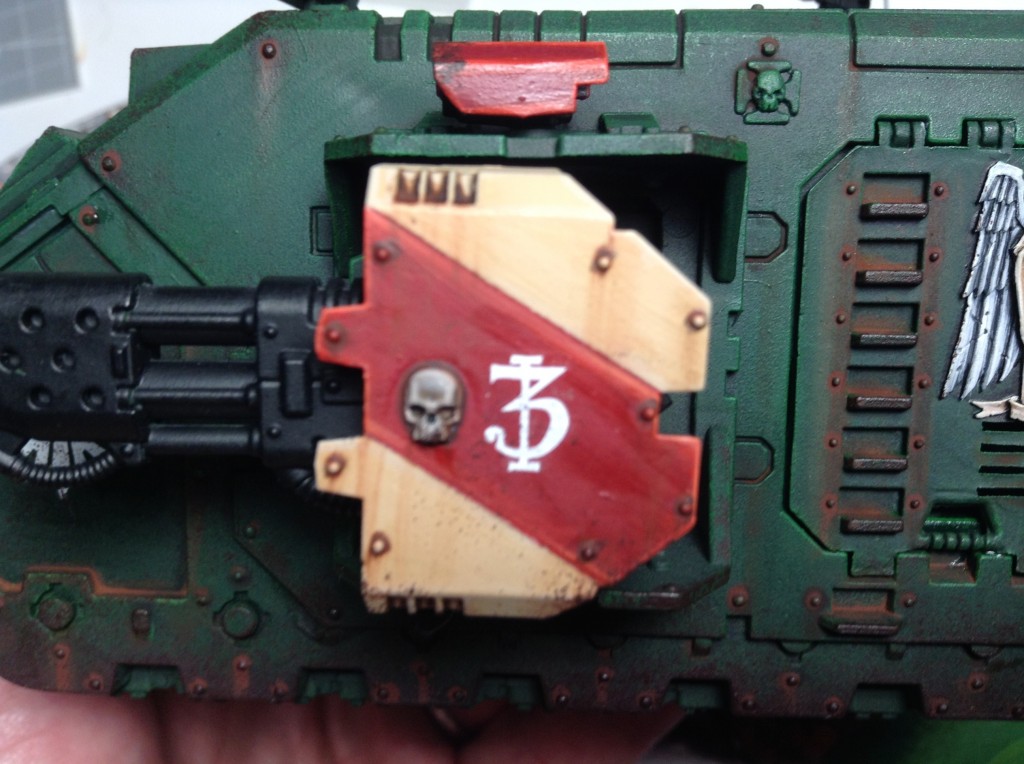
I mixed up some burnt umber oil paint, rust colored pigment and mineral spirits in an old dish to about the consistency of a GW wash. You need very little in the way of pigments. A brush load full goes a long way.
Going around the model, I added the weathering to all the spots where dirt and water would gather…behind rivets, on ledges in the armor, etc. You then need to let the mineral spirits evaporate. This can take an hour if left alone, or 30 seconds with a hairdryer on medium heat.
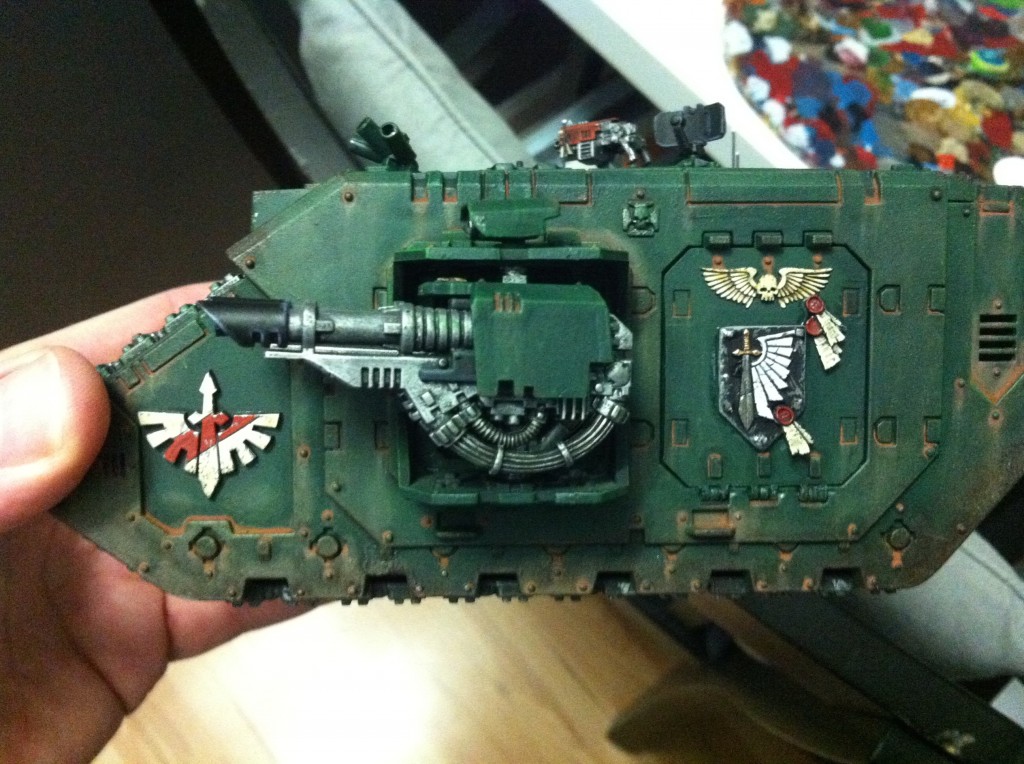
•NOTE: The wash will look very dark when you first paint it on. The temptation will be to add more pigments. I fell into this trap on the second tank (see picture 3) and the result was a much heavier looking wear. As it dries, the pigments will become MUCH more pronounced. Less is more, as you can always go back a second or third time to add more.
•NOTE 2: The book suggests giving the model a gloss coat before doing any weathering. I have not tried this, but can see how that would make the blending process much easier. There are spots on the LR where the wash settled into the models matt finish and once cured was not going anywhere no matter the amount of spirits used.
When the spirits were done, pour a bit of spirits into a small dish. Using a brush dipped in spirits, begin to blend the mixture in by just pulling it in the direction that it would flow, in the case of a tank, down towards the tracks. This can be seen in the pictures below. Next time I will take some photos as I go.
Be First to Comment