Ork Battle Damage

The process is fairly straightforward, but is really time consuming. Not my favorite technique to use, but I am committed to it as all of my vehicles for the Orks have the same look to them. I am sure that there are other techniques (like blotting with a sponge) but this is the one I use.
•First you use a really watered down Skrag Brown (old GW Vermin Brown) to hit all of the bolts. This takes forever, but is where the rust/dirt would accumulate.
•Use Ironbreaker to then paint every bolt. Again with the time, but the bolts have been tightened and are raised so debris is going to hit them first.
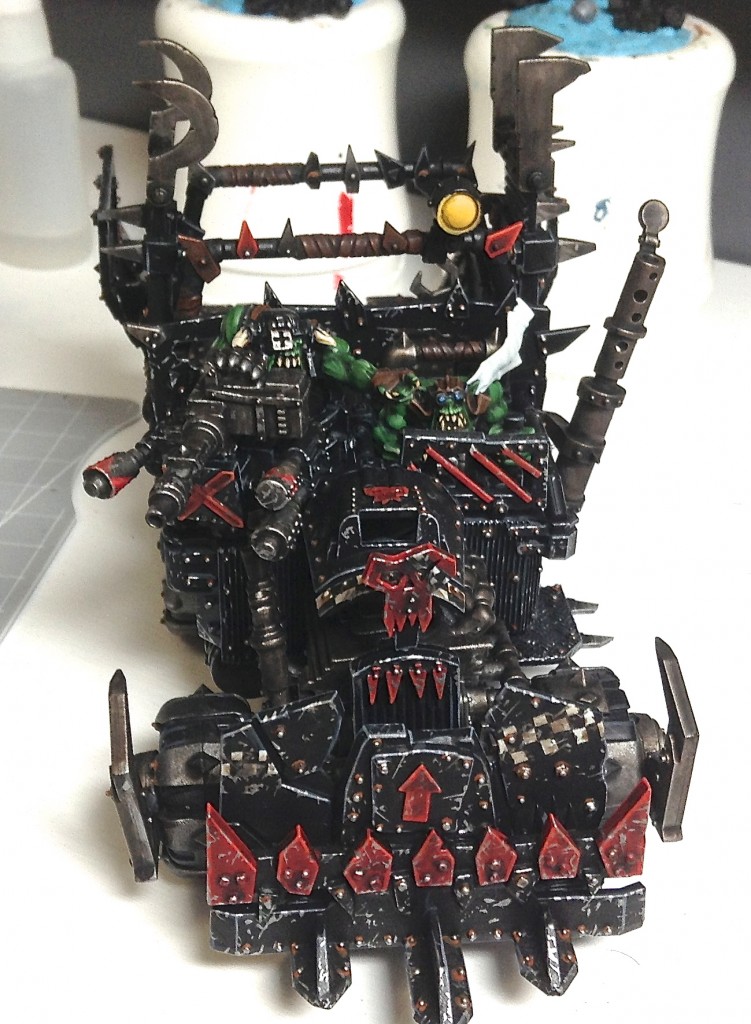
•Using a thinned down Ironbreaker (I use Lahmian Medium, but water works fine) paint very fine lines and dots of damage all over. Use a GW fine detail brush or a 0 or 00 sized brush for this. Focus on the corners and the places that face the direction the vehicle would be going. The key is a nice mix of medium and small dots and scratches. Large blotches will ruin the effect. They are inevitable, but try to mitigate them as much as possible. Too many large blotches and from a distance the scale will be off and it will look like your base color and silver camo.
•Wash some areas with a heavy dose of Agrax Earthshade. This will make some of the chips look older. This also ages the checker boards, as they really should not look brand new.
•Optional: Re-chip some of the areas that you just washed (once it is dry) so that they look like new chips on top of old ones.
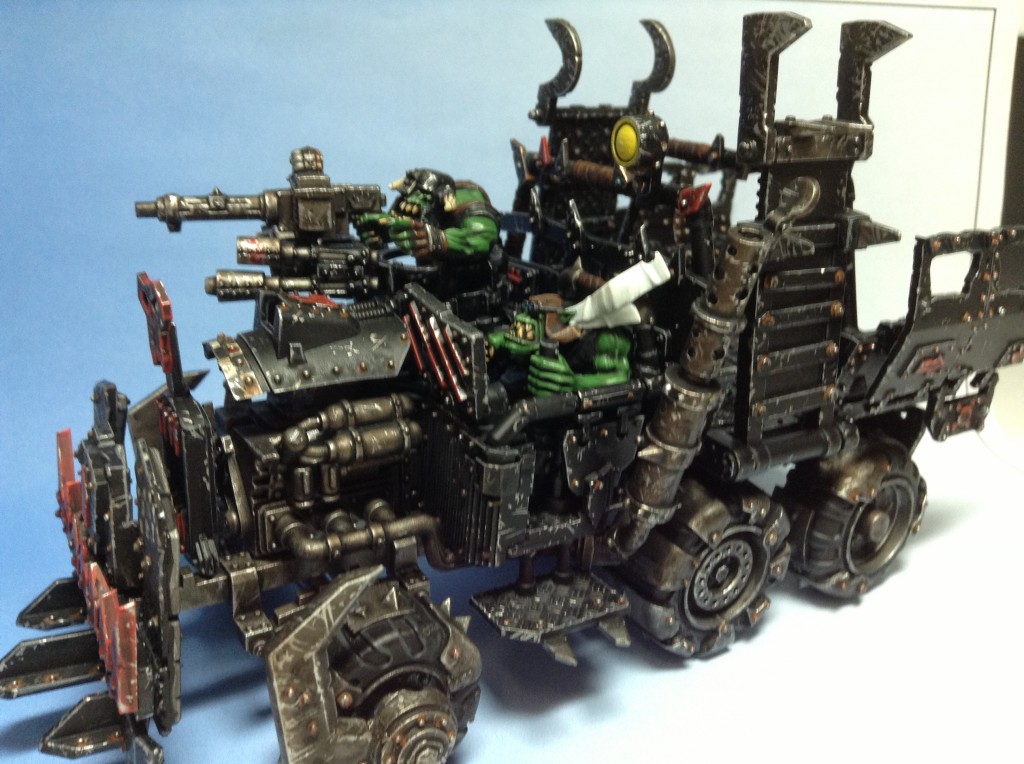
Here is the final shot:

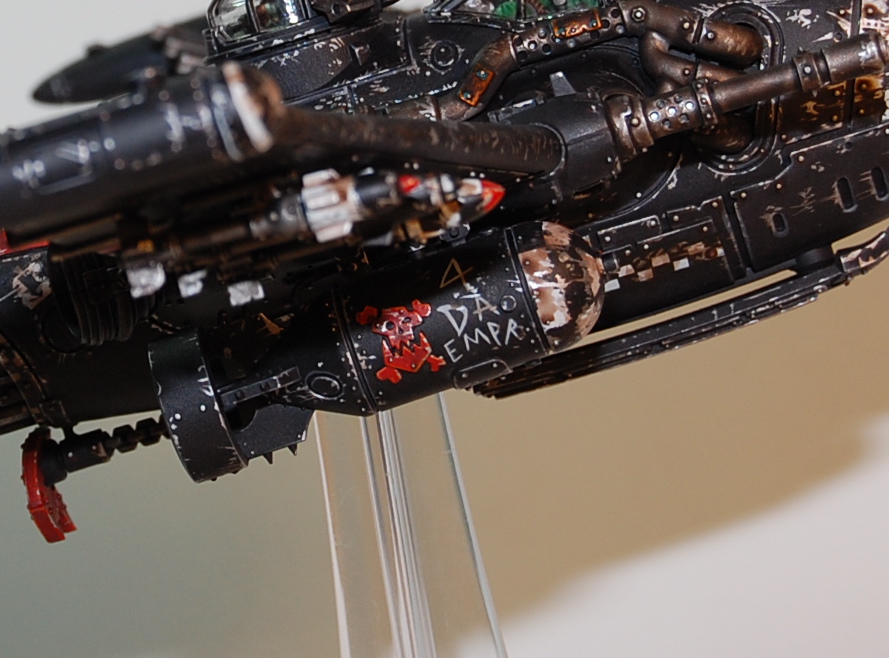
Here is the same effect on the Bomma. This is a time consuming process, and while I am doing it, I am thinking of all the other projects that I would rather be working on. I usually stage it, but in the end I like the results.


[…] Ork Battle Damage […]